
Guide on How to Test Soil pH at Home Without a Kit
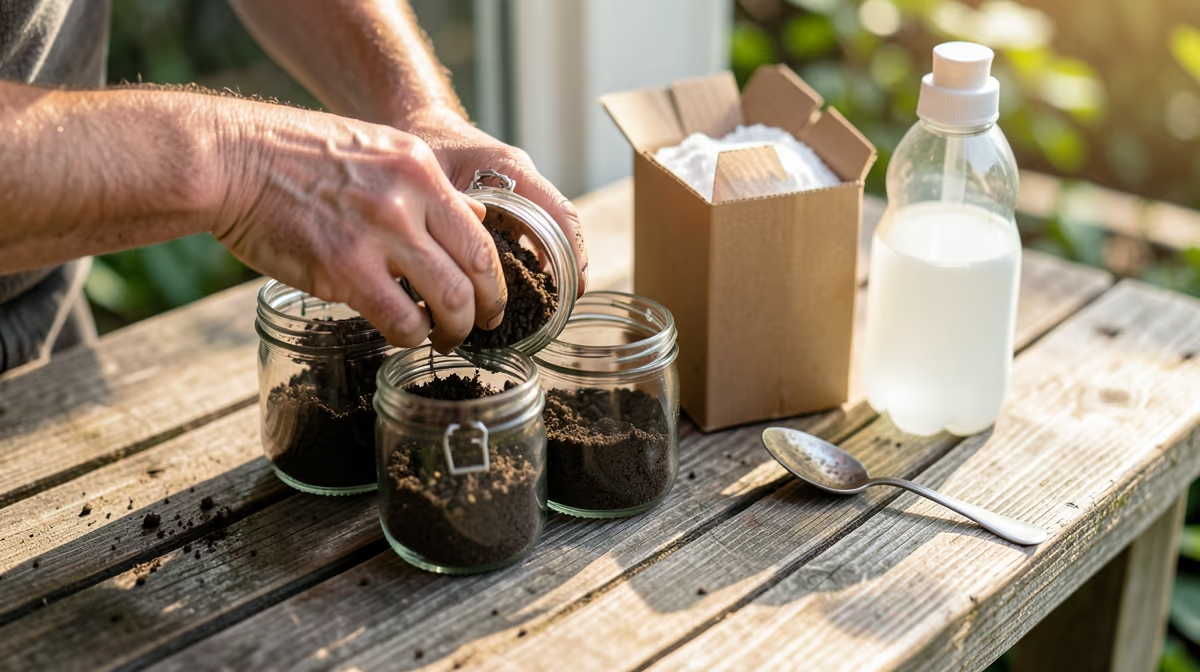
Healthy plants depend on the right soil environment, but you do not need expensive laboratory equipment to check your garden's acidity levels. Learning how to test soil pH at home without a kit is a simple, cost-effective way to get immediate answers about your growing space. By understanding whether your soil is acidic, alkaline, or neutral, you can choose the right plants and fertilizers for a thriving garden.
You can easily determine whether your soil is acidic, alkaline, or neutral using common pantry items like vinegar and baking soda.
Why Soil pH Matters for Your Plants
Soil pH measures how acidic or alkaline your garden soil is on a scale from 0 to 14. A neutral pH sits right at 7.0. Anything below 7.0 is considered acidic, while anything above is alkaline. Most garden vegetables, flowers, and ornamental plants thrive in slightly acidic to neutral soil, typically between 6.0 and 7.0.
When soil pH drifts too far in either direction, plants lose their ability to absorb essential nutrients from the earth, even if those nutrients are present in abundance. For example, iron becomes locked up in highly alkaline soils, leading to pale yellow leaves, a condition known as chlorosis. Conversely, highly acidic soils can restrict phosphorus uptake, resulting in stunted growth. Knowing your soil's baseline helps you avoid these nutrient lockout issues entirely.
What You Need for the DIY Soil pH Test
Before you begin, gather a few everyday items from your kitchen pantry and garage. You do not need to buy anything specialized to complete these tests.
To perform the basic fizz test, you will need:
- Two clean glass jars or bowls
- A clean spoon for mixing
- Half a cup of white household vinegar
- Half a cup of baking soda
- Half a cup of distilled water
- Fresh soil samples from your garden
Distilled water is highly recommended because tap water often contains minerals or chlorine that can artificially alter your test results.
The Vinegar and Baking Soda Test: Step-by-Step
This classic kitchen science experiment relies on simple chemical reactions. Acidic soil will react with the alkaline baking soda, while alkaline soil will react with the acidic vinegar.
Here is the step-by-step process to run this test:
- Collect your soil samples: Dig down about 4 to 6 inches beneath the soil surface in the area you want to test. Remove any stones, roots, twigs, or debris. Collect about one cup of soil in total.
- Divide the soil: Split your collected soil evenly into two separate clean glass jars. Label one jar "Vinegar" and the other jar "Baking Soda."
- Test for alkalinity (The Vinegar Test): Pour half a cup of white vinegar directly into the first jar of soil. Stir it gently. Watch for a reaction. If the soil begins to fizz, bubble, or foam, your soil is alkaline. The fizzing occurs because the acid in the vinegar is reacting with the bases in your alkaline soil.
- Prepare the second jar: If nothing happens in the first jar, move to the second jar. Add enough distilled water to the soil to turn it into a loose, muddy slurry.
- Test for acidity (The Baking Soda Test): Sprinkle half a cup of baking soda over the wet soil slurry in the second jar and stir. If the mixture bubbles, fizzes, or produces active foam, your soil is acidic. The alkaline baking soda is reacting with the acid in your soil.
- Determine a neutral result: If you complete both tests and neither jar produces any noticeable fizzing or bubbling, you have neutral soil with a pH very close to 7.0.
The Red Cabbage Indicator Test: A More Precise Option
If you want a slightly more visual and precise reading of your soil's pH range without buying a commercial test kit, you can use a red cabbage indicator. Red cabbage contains a natural pigment molecule called anthocyanin, which changes color depending on the acidity of its environment.
To perform this test:
- Chop the cabbage: Finely slice about one cup of red cabbage.
- Boil the cabbage: Place the cabbage in a small pot with two cups of distilled water. Bring it to a boil and let it simmer for ten minutes until the water turns a deep, dark purple.
- Strain the liquid: Pour the mixture through a strainer to remove the cabbage pieces, saving the dark purple liquid in a clean glass jar. Let the liquid cool to room temperature.
- Mix the soil: Place two tablespoons of your garden soil into a clean glass jar and add half a cup of your cooled cabbage liquid.
- Stir and wait: Stir the mixture thoroughly and let it sit undisturbed for thirty minutes to allow the soil particles to settle to the bottom of the jar.
- Observe the color change: Look at the color of the liquid at the top of the jar.
How to Read and Interpret Your Results
Analyzing the results of your home tests will guide your soil management decisions. While these DIY methods will not give you a decimal-point reading like a laboratory test, they provide clear direction.
Use this reference table to understand what your red cabbage test colors mean:
| Liquid Color | Soil Classification | Approximate pH Range |
|---|---|---|
| Deep Purple | Neutral | 7.0 |
| Red or Pink | Strongly Acidic | 5.0 - 6.0 |
| Violet | Slightly Acidic | 6.0 - 6.5 |
| Blue | Slightly Alkaline | 7.5 - 8.0 |
| Green or Yellow | Strongly Alkaline | 8.5+ |
If your vinegar test hissed loudly, your soil is likely above 7.5. If your baking soda test foamed vigorously, your soil is likely below 6.0. Understanding these broad categories allows you to select plants that naturally thrive in your existing soil conditions, which is often easier than trying to permanently alter your soil chemistry.
How to Adjust Your Soil pH Based on Your Results
Once you know your soil's general pH, you can take steps to modify it to suit the plants you want to grow. Adjusting soil chemistry is a gradual process that is best done over several months.
If your soil is too acidic (below 6.0) and you want to raise the pH for vegetables or lawn grasses, you can add garden lime (calcium carbonate) or agricultural limestone. Wood ash from a clean fireplace can also raise pH, but it must be used sparingly to avoid over-alkalizing the soil.
If your soil is too alkaline (above 7.5) and you want to lower the pH for acid-loving plants like blueberries, hydrangeas, or azaleas, you can amend the soil with elemental sulfur or organic matter. Mixing in rich compost, peat moss, or rotted pine needles will gradually lower the pH over time as the organic matter breaks down.
Tips for Getting the Most Accurate DIY Soil pH Readings
Understanding how to test soil pH at home without a kit is a valuable skill, but your results are only as good as your technique. To ensure your home test results are as reliable as possible, keep these practical tips in mind during your testing process.
First, always collect soil samples from multiple areas of your garden rather than just one spot. Soil composition can vary significantly between a shaded flower bed, a raised vegetable garden box, and a lawn area. Mix small scoops of soil from three or four different spots in a single zone to create a composite sample for that specific area.
Second, avoid touching the soil samples with your bare hands, as the natural oils and acidity of your skin can contaminate the sample. Use clean garden trowels and wear clean disposable gloves if possible.
Finally, make sure your testing equipment is thoroughly cleaned. Any leftover soap residue or mineral buildup on your glass jars can skew your results. Rinse all jars and spoons with distilled water before beginning the test.
Frequently Asked Questions
Can I use tap water for a home soil pH test?
It is not recommended to use tap water because it often contains dissolved minerals and treatment chemicals that can alter the pH. Always use distilled water to ensure your DIY test results are accurate and unaffected by your household water supply.
How accurate are DIY soil pH tests compared to laboratory tests?
DIY tests using vinegar, baking soda, or red cabbage are excellent for identifying whether your soil is broadly acidic, alkaline, or neutral. However, they cannot provide a precise decimal reading like a professional laboratory test. If you need exact numbers to manage sensitive crops, a professional test is best.
How often should I check my garden soil pH?
You should test your garden soil once a year, ideally in the early spring or autumn before planting. This timing allows you to make necessary amendments and gives the soil time to adjust before the main growing season begins.
Will coffee grounds make my soil more acidic?
Fresh coffee grounds are acidic, but used coffee grounds are nearly neutral because the acid washes out into your brew. Adding used coffee grounds to your soil improves organic matter but will not significantly lower your soil's pH level.
Conclusion
Testing your soil's pH at home without a kit is an easy, budget-friendly way to monitor your garden's health. By using household staples like vinegar, baking soda, or red cabbage, you can quickly identify whether your soil is acidic, alkaline, or neutral. With these results in hand, you can make smart choices about fertilizing, amending, and selecting the perfect plants for your garden.


