
Save an Overwatered Plant with This Step-by-Step Recovery Guide
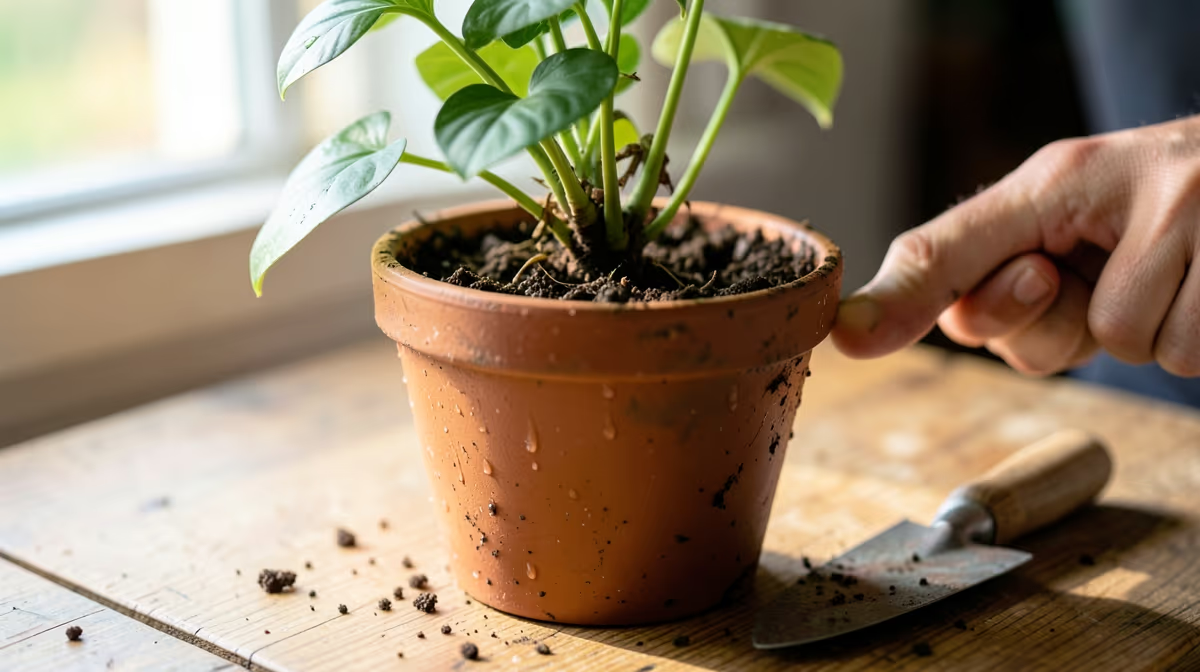
Finding your favorite houseplant wilting in soggy soil is a stressful experience for any plant parent. Fortunately, you can easily save an overwatered plant if you act quickly and address the root damage before it becomes fatal.
The secret to saving a drowning plant is to dry out the root system immediately and cut away any black, mushy tissue before repotting in fresh, well-draining soil.
Signs Your Plant Is Overwatered
Before taking your plant out of its container, you must confirm that overwatering is indeed the issue. Many symptoms of overwatering mimic the signs of underwatering because, in both cases, the leaves are not receiving enough water. However, the underlying reasons are entirely different. When soil is constantly saturated, oxygen cannot reach the roots, causing them to suffocate, die, and stop absorbing moisture altogether.
Look for these key indicators that your plant is struggling with excess water:
- Wilting or drooping leaves, even though the soil feels damp or wet to the touch.
- Lower leaves turning yellow and dropping off the plant.
- Soft, mushy, or brown stems near the base of the soil line.
- A persistent musty, sour, or rotting smell emanating from the pot.
- Green algae or white mold growing on the surface of the soil.
- Pests like fungus gnats crawling on the soil or flying around the plant.
What You Will Need for the Recovery Process
To properly treat a waterlogged plant, gather your materials beforehand so you can work quickly and minimize the time the delicate roots are exposed to the open air.
- Clean, sharp pruning shears or scissors
- Fresh potting mix formulated for your specific plant type
- A clean pot with adequate drainage holes
- Rubbing alcohol or household bleach (to disinfect your tools)
- Absorbent paper towels or old newspapers
- A small basin or bucket of clean, room-temperature water
Step-by-Step Instructions to Save an Overwatered Plant
Once you have gathered your tools, follow these steps carefully to give your plant the best possible chance of a full recovery.
- Remove the plant from its pot: Gently tilt the pot sideways and support the main stem of the plant with your fingers. Slowly slide the root ball out of the container. If the plant is stuck, tap the sides of the pot to loosen the soil. Do not yank the plant by its stems, as this can tear fragile, weakened roots.
- Strip away the wet soil: Use your fingers to gently massage the root ball and remove the heavy, waterlogged soil. If the soil is muddy and clings tightly, rinse the root ball under a gentle stream of lukewarm tap water to expose the bare roots.
- Inspect the root system: Healthy roots should look white, cream, or light tan, and feel firm to the touch. In contrast, roots suffering from root rot will look dark brown or black, feel mushy or slimy, and fall apart easily when handled.
- Trim away damaged roots: Wipe your pruning shears with rubbing alcohol to sterilize them. Carefully snip off all the black, mushy, rotten roots, leaving only the healthy, firm ones. Disinfect your shears between cuts to prevent spreading dormant fungal spores to the healthy parts of the root system.
- Prune back the foliage: If you had to remove a significant portion of the roots, you must reduce the foliage accordingly. Cut away damaged, yellowing, or dead leaves. Reducing the leaf mass lessens the workload on the remaining healthy roots, allowing them to support the plant more efficiently.
- Let the roots dry: Lay the plant on a layer of paper towels or newspaper in a warm, shaded area with good air circulation. Let the bare roots air-dry for a few hours. This helps dry out any remaining excess moisture and allows the cuts on the roots to callus over.
- Repot in fresh soil: Thoroughly wash and sanitize your old pot, or prepare a new one. Fill the bottom with fresh, dry potting mix. Place the plant in the center and fill in the sides, patting the soil down gently to secure the plant.
Never reuse the old, waterlogged soil when repotting, as it likely harbors harmful fungal pathogens that cause root rot.
Soil and Container Troubleshooting
The container and soil you use play a massive role in how moisture is retained and distributed. If your pot does not have proper drainage holes, water will collect at the bottom, creating a stagnant pool that drowns the roots. Always choose pots with drainage holes at the base. If you find a decorative pot you love that lacks drainage, use it as an outer cover (a cachepot) and keep the plant in a plain plastic nursery pot inside it.
The material of your pot also affects soil moisture levels. Refer to this table to understand how different materials handle water retention:
| Pot Material | Moisture Retention | Best Used For |
|---|---|---|
| Terracotta or Clay | Low (porous walls allow water to evaporate and soil to breathe) | Cacti, succulents, and plants prone to overwatering |
| Plastic | High (non-porous walls trap moisture inside the pot) | Ferns, calatheas, and other moisture-loving plants |
| Ceramic (Glazed) | High (traps moisture, similar to plastic pots) | Plants kept in very dry or drafty indoor environments |
Common Recovery Mistakes to Avoid
While trying to save your plant, it is easy to make well-intentioned mistakes that can cause further shock or damage.
Avoid applying fertilizer to a recovering plant. When a plant is stressed and its roots are damaged, it cannot process nutrients. Adding fertilizer during this vulnerable time will burn the remaining healthy roots and likely kill the plant. Wait until you see signs of new leaf growth before introducing any fertilizer.
Do not place your newly repotted plant in direct, scorching sunlight. While it might seem logical to use bright sun to dry out the plant, the sudden heat and light will cause rapid moisture loss through the leaves, which the compromised root system cannot replace. Keep the plant in bright, indirect light until it stabilizes.
Finally, do not water the plant immediately after repotting. The fresh potting mix already contains a small amount of natural moisture. Allow the plant to adjust to its new home for two to three days before giving it a light watering.
How to Prevent Overwatering in the Future
Preventing overwatering is far easier than trying to rescue a dying plant. To establish a healthy routine, abandon rigid watering schedules, such as watering every Friday. Plant water needs change constantly based on room temperature, humidity, season, and light levels.
Instead, always check the soil moisture before adding water. Insert your index finger about two inches into the soil. If the soil feels damp, check again in a few days. If the soil feels dry and warm at that depth, it is safe to water. Alternatively, lift the pot to gauge its weight; a dry pot feels significantly lighter than a freshly watered one.
Frequently Asked Questions
How long does it take for a plant to recover from overwatering?
Recovery times vary depending on the plant species and the severity of the root damage. Generally, you should expect to see signs of stabilization or new growth within two to four weeks.
Can an overwatered plant heal on its own?
A mildly overwatered plant can recover on its own if you stop watering immediately and let the soil dry out completely. However, if root rot has already set in, the plant will require repotting and root surgery to survive.
Should I cut off yellow leaves from an overwatered plant?
Yes, you should remove yellow, brown, or mushy leaves. These damaged leaves will not turn green again, and removing them allows the plant to focus its limited energy on producing healthy new growth.
Why is my plant still wilting after I watered it?
If your plant is wilting despite wet soil, its roots have likely rotted and can no longer absorb water. The lack of functioning roots deprives the leaves of moisture, causing the plant to wilt as if it were thirsty.
Conclusion
Saving an overwatered plant requires quick intervention, careful root inspection, and a clean environment for recovery. By removing rotten tissue, repotting in fresh soil, and adjusting your future watering habits, you can successfully revive your plant and keep it thriving for years to come.


