
Signs of Root Rot and How to Save Your Dying Plants Safely
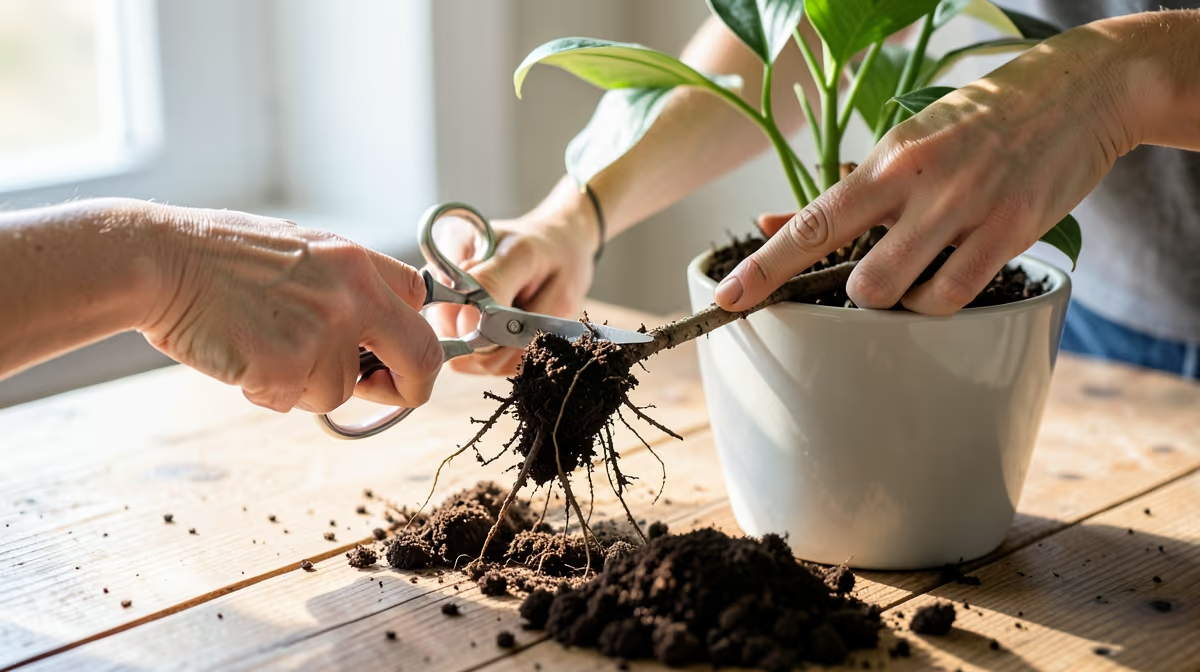
Discovering that your favorite plant is wilting despite regular watering can be incredibly frustrating. This quiet decline is often caused by a hidden, destructive condition underneath the soil. Recognizing the early signs of root rot is the key to stepping in and saving your green companion before the damage becomes permanent. Let's look at how to identify this underground threat and the exact steps you must take to nurse your plant back to full health.
The single most effective way to prevent root rot is ensuring your pots have functional drainage holes and that you allow the soil to dry out appropriately between waterings.
What is Root Rot and Why Does It Happen?
Root rot is a progressive disease that attacks a plant's root system, eventually cutting off its ability to absorb water and nutrients. This condition generally stems from two primary, overlapping factors: a lack of oxygen in the soil and fungal pathogens.
When you water your plant, the liquid fills the tiny air pockets within the soil. In a healthy scenario, excess water drains away, allowing air to return to those spaces. However, if the soil remains constantly saturated due to overwatering or poor drainage, the roots are permanently submerged. Without access to oxygen, the roots essentially drown and begin to decay.
This oxygen-depleted environment becomes a breeding ground for naturally occurring soil fungi. Fungal organisms lie dormant in most potting mixes, but they multiply rapidly in wet, anaerobic conditions. Once these pathogens take hold, they actively attack the weakened, suffocating root tissue, accelerating the decay process.
Common Signs of Root Rot Above the Soil
Because this disease begins underground, it often goes unnoticed until it has reached an advanced stage. However, your plant will send out several warning signals above the soil line to tell you that its root system is in distress.
The most common symptom is leaf yellowing, which typically begins on the lower leaves and gradually spreads upward. Unlike the crisp yellowing caused by underwatering, leaves affected by rotting roots often feel soft, limp, and heavy.
You might also notice your plant wilting, even though the soil is damp to the touch. This happens because the compromised, decaying roots can no longer draw water up into the stems and leaves. It is easy to mistake this wilting for dehydration and add more water, which unfortunately worsens the problem.
Other clear indicators include: - Stunted or completely halted growth during the active growing season - Unexplained leaf drop, where green or yellow leaves fall off at the slightest touch - A distinct, musty or sour odor rising from the potting soil - Stems that feel soft, squishy, or black near the base of the plant
How to Inspect the Roots Directly
If your plant shows several above-ground symptoms, the only way to confirm the diagnosis is to look at the root system directly. Gently slide the plant out of its container to inspect the damage. To do this without snapping the stems, support the main base of the plant with one hand, tip the pot sideways, and tap the bottom of the container until the root ball slides free.
Carefully brush away the loose soil, or rinse the roots under a gentle stream of lukewarm water so you can clearly see their structure. Healthy roots look very different from diseased ones.
| Root Characteristic | Healthy Roots | Rotted Roots |
|---|---|---|
| Texture | Firm, plump, and pliable | Soft, **mushy**, or fragile |
| Color | White, cream, or light tan | Brown, black, or dark grey |
| Odor | Earthy, fresh, and neutral | Sour, swampy, or decaying |
| Outer Sheath | Slips off only with force | Easily slides off the core |
If the roots crumble or dissolve in your hands when you touch them, they are deeply rotted. If you find a mix of both healthy and decaying roots, there is a very high chance you can save the plant.
Step-by-Step Guide to Saving Your Plant
Once you have confirmed the issue, you must act quickly to stop the decay from spreading to the remaining healthy parts of the plant.
- Wash the roots thoroughly: Rinse away all the old, contaminated soil under cool, running tap water. You want to remove as many fungal spores as possible, so do not reuse any of the old potting mix.
- Prune the damaged roots: Using a pair of sharp, sterile shears, cut away all the black, mushy, or smelly roots. Make your cuts slightly above the damaged area, into the healthy, firm tissue, to ensure no rot is left behind.
- Trim the foliage: If you had to remove a significant portion of the root system, you should also trim back some of the plant’s leaves. A smaller root system cannot support a massive canopy. Cut back the foliage by roughly the same percentage as the lost roots to balance the plant’s moisture needs.
- Disinfect the remaining roots: Dunk the healthy roots in a mild antifungal solution. A simple, safe home remedy is a mixture of one part 3% hydrogen peroxide to two parts water. This helps kill off any microscopic fungal spores left on the healthy roots.
- Clean the pot: If you plan to reuse the old container, scrub it thoroughly with hot water and dish soap, then wipe it down with rubbing alcohol or a diluted bleach solution to kill any lingering pathogens.
- Repot in fresh soil: Plant your survivor in clean, sterilized potting soil that offers excellent drainage.
Always sterilize your cutting tools with rubbing alcohol between snips to avoid spreading fungal pathogens to healthy plant tissues.
Essential Post-Care and Recovery Tips
After repotting, your plant will be in a state of shock. Its reduced root system needs time to heal and grow new root hairs before it can function normally again.
Place the repotted plant in a location with bright, indirect light. Avoid placing it in direct, hot sunlight, which will increase transpiration and put too much stress on the recovering roots. Keep the plant away from drafty windows, air conditioners, or heating vents.
Hold off on applying any fertilizer for at least four to six weeks. Fertilizers contain mineral salts that can easily burn tender, newly forming roots. Wait until you see clear signs of new leaf or stem growth before introducing a diluted, balanced fertilizer.
Water very conservatively during this recovery period. Let the top few inches of the potting mix dry out completely before you water again. Because the root system is smaller, the plant will use much less water than it did previously.
How to Prevent Root Rot in the Future
Preventing this issue from returning is far easier than trying to cure it a second time. Maintaining a healthy soil environment is the best long-term defense for your plants.
Always choose pots that feature functional drainage holes. If you fall in love with a decorative cachepot that has no holes, keep your plant in a plastic nursery pot and slip it inside the decorative container. Remember to empty any standing water from the saucer or cachepot about fifteen minutes after watering.
Improve your soil mix by blending in aeration amendments. Adding ingredients like coarse perlite, pumice, or orchid bark creates permanent air pockets in the soil, ensuring that even when the soil is wet, the roots can still access oxygen.
Finally, change your watering habits. Instead of watering on a strict calendar schedule, always check the moisture level of the soil first. Push your finger two inches into the soil, or insert a wooden chopstick. If it comes out damp or with dark soil clinging to it, wait a few more days before watering.
Frequently Asked Questions
Can a plant recover from root rot on its own?
No, a plant cannot recover from this condition without intervention. Once the fungal pathogens and decay take hold, the rot will continue to climb up the root system until the entire plant dies.
Can I reuse the soil from a plant that had root rot?
You should never reuse soil from an infected plant because it contains active fungal spores that will quickly infect any new roots. Always discard the old soil in the trash and use a fresh, sterile potting mix.
Is hydrogen peroxide safe for treating damaged roots?
Yes, a diluted solution of 3% hydrogen peroxide is highly effective at killing fungal spores on contact. It also releases oxygen into the root zone, which helps stimulate healthy new root growth.
How long does it take for a plant to recover?
Recovery time depends on the plant species and the severity of the damage, but you can generally expect to see signs of stabilization and new growth within three to six weeks of repotting.
Conclusion
Saving a plant from root rot requires quick diagnostic action, careful root pruning, and clean repotting practices. By recognizing the early warning signs, keeping your tools sterilized, and adjusting your watering routine, you can successfully rescue your favorite plants and prevent this common issue from returning to your indoor garden.


